
There comes a time in every homeowner’s life when they have to tackle common plumbing issues. From a clogged drain to a leaky pipe, most common plumbing issues can be addressed quickly and easily with the right tools and a bit of know-how.
This article lists some common plumbing issues and the different ways you can troubleshoot and fix them all (before you call in a plumber). Let’s get into it!
1. Clogged sink
Whether it is your kitchen sink, bathroom sink, or shower drain, a common plumbing issue that most homeowners face is clogging. This can be caused by foreign objects, such as hair or food scraps blocking the pipes.
How do you troubleshoot and fix it?
Step 1: Use a plunger to break up the clog.
The first thing you should do is try to break up the clog by using a plunger. Proper use of the plunger requires you to block the overflow hole with a wet cloth so that all of the pressure from the plunger is directed toward the clog.
Step 2: Use a drain snake.
If the plunger didn’t do the trick, try using a drain snake or auger to help break up the clog further. Be sure to follow the manufacturer’s instructions carefully and use caution. A drain snake is a great tool to have on hand for common plumbing issues.
Step 3: Pour a kettle of hot water into the sink.
You can also try to dissolve the clog by pouring a kettle of hot water into the sink. The hot water should help break down any gunk blocking the pipe.
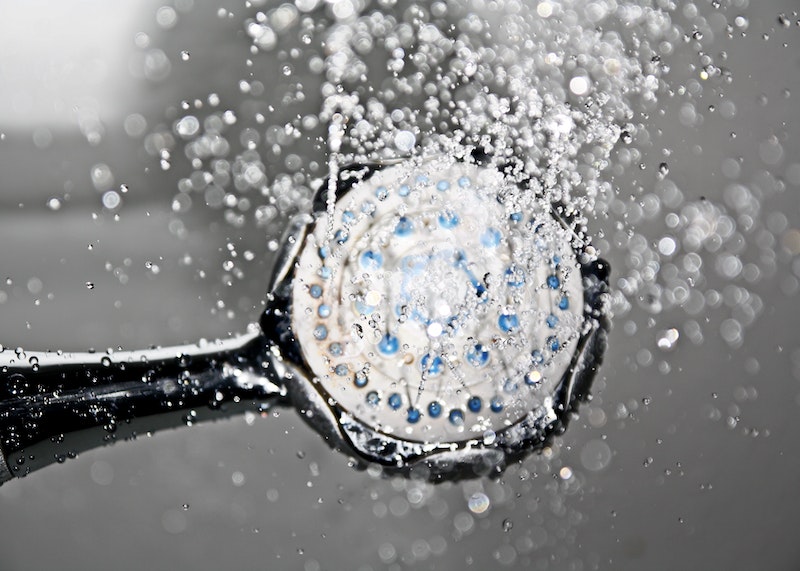
2. Leaky faucet
Leaky faucets are common plumbing issues that can not only be annoying but also costly if left unresolved. After all, a running faucet can easily waste hundreds of gallons of water in just a few days.
How do you troubleshoot and fix a leaky faucet?
Step 1: Turn off the water supply.
The first thing you should do is turn off the water supply to the faucet. This will help ensure that there is no further water damage and allow you to access the faucet’s components easily.
Step 2: Remove the handle and inspect for any damage.
Once you have shut off the water supply, remove the faucet’s handle and inspect it for any signs of wear or damage. If there is any visible damage, such as rust, then you may need to replace the handle.
Step 3: Replace the washer or O-ring.
If there is no visible damage to the handle, then your next step should be to replace the washer or O-ring at the base of the faucet.
This can usually be done by unscrewing a few screws and then replacing the washer or O-ring. That said, if you find yourself a little lost or overwhelmed, it might be time to call in Dr. Fin Plumbing and Air Conditioning services.
3. Dripping faucet
You’re sure you turned it off, but you can still hear a dripping faucet. Worn or corroded components within the faucet itself usually cause this common plumbing issue. How do you troubleshoot and fix a dripping faucet?
Step 1: Inspect the washer or O-ring for wear.
You should first inspect the washer or O-ring for any signs of wear or corrosion. If the part is worn or corroded, it’s time to replace it.
Step 2: Replace the washer or O-ring.
Once you have identified which washer or O-ring needs replacing, you can remove the screws and unscrew the handle. Then, carefully remove the old washer or O-ring and replace it with a new one of the same size.
Step 3: Test for leaks.
Once you have replaced the washer or O-ring, you should test your faucet to ensure there are no further leaks before turning the water supply back on.
4. Low water pressure in the shower or sink
Low water pressure can be incredibly frustrating, and it’s one of the common plumbing issues that many homeowners face. Blocked pipes, corroded pipe connections, or a faulty pressure regulator can cause this.
How do you troubleshoot and fix low water pressure?
Step 1: Check for any blockages in the pipes.
The first step is to check for any blockages in the pipes. If the water pressure only seems to be low in one area, such as the shower or sink, it could be due to a nearby pipe being blocked.
Step 2: Check for corrosion.
If there are no visible blockages, you should also check for any signs of corrosion on the pipe connections. If there is any visible corrosion, it’s time to replace the corroded components with new ones.
Step 3: Replace the pressure regulator.
Finally, if you are still having issues with low water pressure, then it may be due to a faulty pressure regulator. In this case, you should replace the pressure regulator with a new one.
5. Running toilet
Is your toilet constantly running? Do you notice a constant sound of water flowing in the background? If so, you may have a common plumbing issue known as a running toilet.
This common plumbing issue is often caused by worn-out valves or flappers that are not sealing properly and can cause hundreds of gallons of water to be wasted each day.
How do you troubleshoot and fix a running toilet?
Step 1: Inspect the flapper.
The first step is to inspect the flapper, which is located at the bottom of the toilet tank. If it is worn, warped, or cracked, it’s time to replace it with a new one. Typically, you can unscrew the old flapper and replace it with a new one of the same size.
Step 2: Inspect the fill valve.
If the flapper looks fine, then your next step should be to inspect the fill valve. This is usually located at the top of the toilet tank and controls how much water enters it when you flush. If it is corroded, you should replace it with a new one.
Step 3: Test for leaks.
Finally, once you have replaced the flapper and fill valve, you should test your toilet to make sure there are no further leaks before turning the water supply back on. If there are no further leaks, your running toilet should now be fixed.
6. Faulty water heater
Sometimes, the water heater doesn’t work, and you end up with cold water instead of hot. The common plumbing issue here is usually due to a broken heating element or thermostat in the unit.
How do you troubleshoot and fix a faulty water heater?
Step 1: Check the elements and thermostats.
Because a broken heating element or thermostat can cause a faulty water heater, the first step is to check both of these components. You can find them inside the unit and can replace them if needed.
Step 2: Check for blockages.
If the heating element and thermostat are in working order, you should check for any blockages in the pipes leading to or from the water heater. If there is a blockage, then this could be causing cold water instead of hot.
Step 3: Test the water heater.
Once you’ve checked for any blockages and replaced any faulty components, it’s time to test your water heater. Make sure all the connections are secure, then turn on the power and wait for the water to heat up.
Conclusion
These are just some of the common plumbing issues that homeowners may come across. If you find yourself stuck and unable to troubleshoot or fix any of these common plumbing issues, then it’s always best to call in a professional plumber who can help get your system up and running again.